

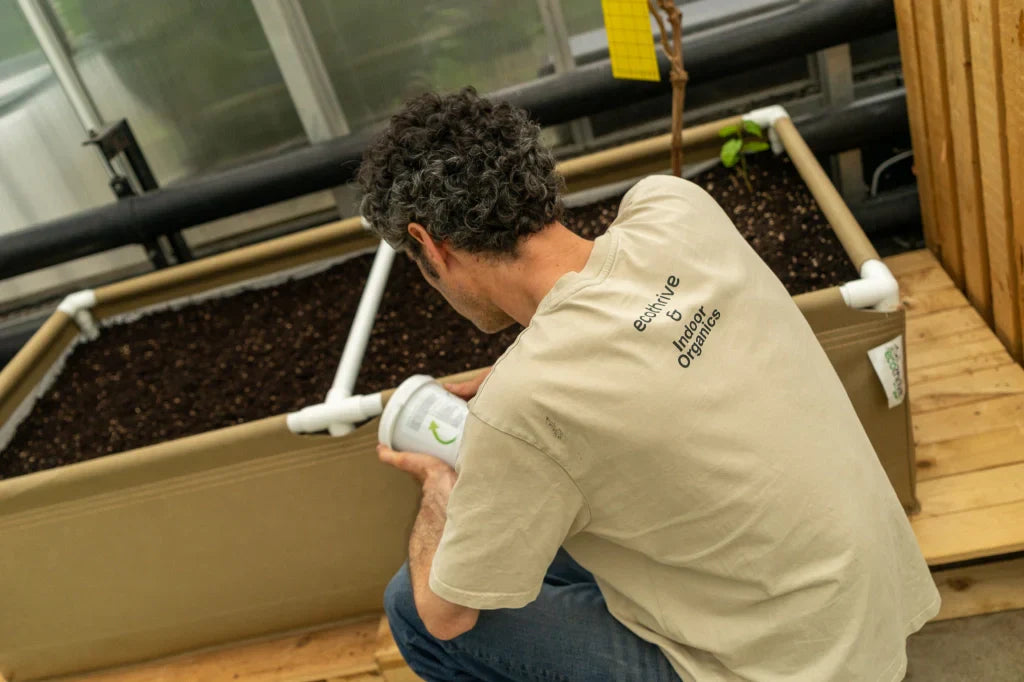
Want to have a go at creating your own basic living soil?
As passionate growers, we want to be able to share our knowledge about growing the living soil way. You may know already that Ecothrive Living Soil is our premium ready-to-use living soil, we have worked extensively to formulate a well-balanced potting soil that provides the foundations to build your living soil ecosystem. However, we often get asked by growers if it’s possible to create a basic, easy-to-make version of legendary Living Soil, so for all you DIYers, here is a guide to making your own living soil at home.
Introduction to the living soil method
Organic living soil growing is a methodology based on feeding the soil biology rather than directly feeding the plant, with a focus on growing practices that lead to healthy microbial activity.
Our aim when creating a living soil mix, and growing in living soil, is to create an active nutrient cycling system where the soil life breaks down raw organic inputs to make plant available nutrition. We aren’t watering with sugary molasses-based liquid organic nutrients to cause boom-bust cycles of microbial activity, we are encouraging the plant to do what it does naturally; push out its own sugary exudates from its root system into the soil to feed the microbes at a natural steady rate, just as they have done for millions of years.
We keep living soil moist to support the growth and reproduction of soil microbes. This way, we don’t disrupt the nutrient cycling process that occurs with traditional wet-dry watering cycles. With living soil, we can create an active mulch layer on the surface where plant material such as leaves and stems removed from the growing plant can be consumed by soil organisms.
After completing a crop cycle, your living soil can be re-amended with the Life-Cycle and used over and over, further reducing our waste stream and reducing our impact on the environment.
It’s also really gratifying to understand the whole process and ultimately become more self-sufficient when it comes to growing your own organic produce. This is one of the main reasons most people start their home grow.
Keep on reading to find out how to make your own organic living soil filled with microbiology to grow high-yielding and extremely tasty crops that can be reused year after year.
This is not our Living Soil recipe, but is a great way to make your own basic living soil mix, and will even save you a few quid!
Soil Tutorial
For this recipe, we are going to be producing 100L of soil but the same ratios can be multiplied or divided to make either more or less depending on how much you need. This whole process may take around 7-14 days to get to the final result depending on the volume of soil.
This is what you are going to need.
Tool Kit:
- A tarp (for mixing volumes of 100L+)
- Container/tub (for any smaller mixes and for the cooking process)
- Shovel
- Rake
- Face mask
- Compost Thermometer (optional)

Ingredients (100L Mix):
- 60L Coco coir Coco coir is a mix of high-quality coir pith and fibres that are well-aged and thoroughly washed to provide a stable aerated growing medium with minimal residual salts. Coco coir provides great moisture retention in a living soil mix, while also providing good aeration and a slow release of potassium.
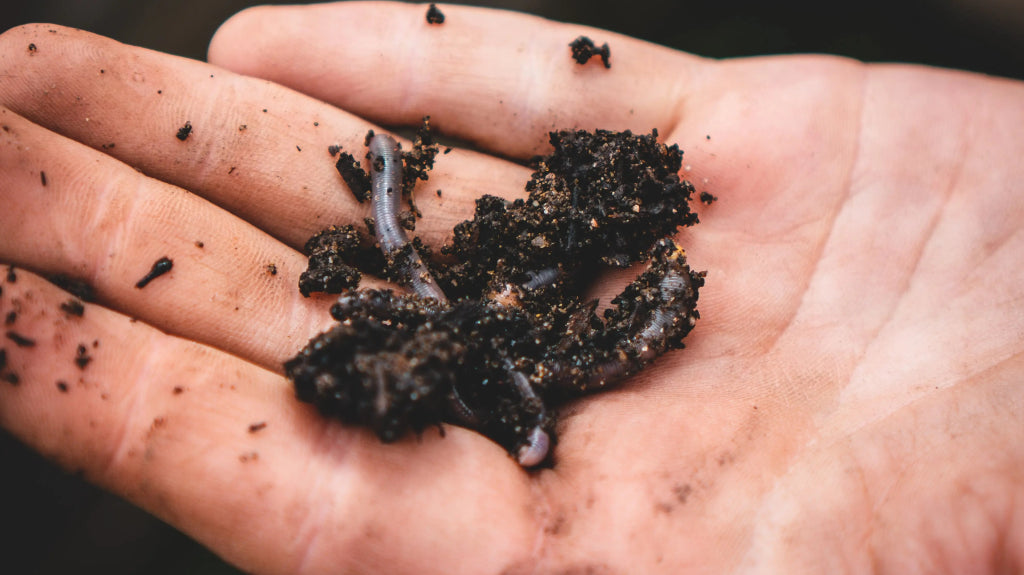
- 20L Vermicompost aka worm castings Buying the best quality worm castings you can is essential for building healthy soil. Adding a plethora of beneficial microbes, as well as extra nitrogen, phosphorus and potassium and micronutrients, these incredibly high-quality worm castings are the heartbeat of high-quality living soil. You can also use high-quality compost made in a thermophilic process, but finding high-quality compost like this to purchase is challenging in the U.K.
- 20L Pumice 3-8mm – A natural volcanic rock, pumice is a great addition to aerate a living soil mix to provide good air exchange in the root zone and vital long-term structure. Maintaining good oxygen-rich air space within the soil is vital for microbial communities to do well. Pumice has thousands of natural tiny pores, formed when volcanoes erupt explosively and the lava cools rapidly. This highly porous rock is the most sought-after aeration amendment for living soil mixes, but can be replaced with its lightweight man-made cousin perlite (just go easy when mixing as perlite can crush easily).
- 2kg Life-Cycle Life-Cycle is a carefully formulated, balanced organic dry amendment mix designed to feed your soil with a diverse blend of essential nutrients and minerals.
If you are limited on the ingredients you have access to, you could just buy 2 x 50L bags of ‘light mix’ potting soil, add some extra worm castings, aeration material like perlite or pumice along with the suggested dose of Life-Cycle. The important part is the extra worm castings, these will help add microbial life to your mix.
What’s in Life-Cycle?

Life-Cycle Ingredients:
- Mealworm Frass (Ecothrive Charge)
- Insect Meal
- Neem Cake
- Rock Phosphate
- Seaweed Meal
- Basalt Rock Dust
- Humic and Fulvic Acids
- Gypsum
If you are sourcing your own ingredients to make your own amendment mix, try your best to do some research, and buy good quality inputs. Try to find inputs that release nutrients at different rates, for example for nitrogen we use insect meal because it’s fast-acting, mealworm frass because it releases nitrogen more slowly, and neem cake because it’s a long-term source of N.
Avoid using too many amendments that are high in sodium such as seaweed or krill meal. Sodium is used by plants in significant quantities and will cause problems with the uptake of other nutrients such as calcium, magnesium and potassium.
The Mixing Process
We like to mix soil on a tarp, it’s the easiest most efficient way to blend soil ingredients. Don’t use a cement mixer! They are rubbish for potting soil and you always end up with unmixed material at the back. The tarp tech is the way to go for anything over 100L, all you need is a tarpaulin, rake and shovel.
If mixing small amounts like 50L, a large enough tub and your hands will do the job fine.

First, throw into the middle of the tarp the 60% coco coir and 20% vermicompost, and save the 20% pumice till later! To mix this, you spread it out across the tarp, then grab one corner and walk into the middle, doing this one corner at a time until you have a pile in the middle again.
Repeat this once and your mix looks something like this. It usually takes 2 mixes. If you are using a bagged light mix to save time, you obviously skip this part.
Once you have a homogeneous-looking base mix, it’s time to weigh out your Life-Cycle. Before weighing out any powders it is best to wear a dust mask or even better one that has a replaceable pre-filter and dust filter for catching fine particles.
Life-Cycle Amendment: 2kg per 100L of base mix.
So at this point you should have a pre-mixed base mix and have your Life-Cycle ready. Now it’s time to make the magic happen. Spread out your base mix with the rake like before but this time, dust the amendments as evenly as you can across the base mix. Pull one corner into the middle at a time and repeat by spreading the soil out with the rake.
Repeat this twice, it should be starting to look well mixed.
Now add that 20% pumice you have been saving! Why wait till now? The pumice is the heaviest part of the mix, so this saves your back, particularly when you have a large mix to make up.
At this point, it is also worthwhile checking and thinking about soil moisture. If the mix is a bit dry, add 5L of water per 100L of mix. If it’s really dry or dusty, add 10L of water per 100L.
Mix the pumice into the soil on the tarp twice, then create a large mass in the middle of the tarp, or in your tub.

This should now be left for a few days to heat up, just like a mini compost heap. We call this process ‘cooking’ the soil. If you wanna be a pro you can use a compost temperature probe to make sure it doesn’t get too hot. Try to avoid temps above 50C. It is more likely to get to 20-30C following our mixing advice, higher temps are reached when larger volumes of soil are mixed.

After 3-4 days it should have started its cooking process. It is best to mix the soil again on the tarp at this point, then again 3-4 days later. Try to notice the difference in colour and smell of the soil. It is fascinating to see the changes happen right before your eyes.
So at this point, you have re-mixed your amended soil for a third and final time. Now, wait for one more week for the mix to cool off to below 20C. What do you do now? It can go straight into your bed or containers, ready to grow some awesome plants the organic way!
Get Growing with Living Soil
When making living organic soil yourself, it turns into something extra special. If you like to think metaphysically, some may say mixing by hand and running your fingers through it adds your own energy and intentions into the mix, giving it your final blessing before growing the way nature intended.
A homemade living soil mix can be a great foundation for building your living soil ecosystem to provide your plants and biology with a good starting point. When growing in fresh potting soil, it can take time to build your soil biology. We recommend using instant microbial teas like Biosys and watering with a superior compost extract like Bio-Blend to kick-start the beneficial biology. Your soil and plants will thank you!
If you would rather try premium pre-formulated living soil that has already been cooked and minerally balanced then our Ecothrive Living Soil is the answer. We’re dedicated to helping you grow the best plants possible. That’s why we’ve created a living soil that promotes healthy root development, is loaded with organic nutrition, supports sustainable growing, maximises quality and flavour, and is easy to use.
So why wait? Start growing with Living Soil today!

Leave a comment
This site is protected by hCaptcha and the hCaptcha Privacy Policy and Terms of Service apply.